I originally made these markers to represent the smoke and shadows upgrade for the Ten Thunders in Malifaux. However with little changes (mainly with basing) these will work with any game (especially for destroyed tanks in Flames of War).
Materials:
 - paper clips
- PVA glue (I usually use "Weldbond" with good results)
- clump foliage (Darker the better)
- 50mm Base
- something for the smoke to come out of (I used cannon balls from the GW Empire cannon box)
Tools:
- pin vice/ hand drill
- clippers
Step One:
I started by making smoke bombs. I flattened out one side of the cannon balls to make a good surface to glue to the base. I put three and four bombs per base. After the cannon balls glue was dry I drilled a whole into the center of each. I only made the hole depth about half the length of the cannon ball.
Step Two:
Next, I straighten the paper clips and cut them to around 2-3 inches. I made sure that all the paper clip lengths where not the same size. I then put one paper clip into each of the cannonball/smoke bombs.
 |
| Ronin for scale |
Now it is time to make the smoke. I put a large puddle of Weldbond onto a scrap piece of plastic. I then picked larger dense pieces of clump foliage. I dipped one side of the foliage into the Weldbond and impaled it into paperclip in the cannonball/smoke bomb. I repeated this process, impaled foliage on top of each other until the paper clip is hidden. I the repeated this until all the paper clips where covered. NOTE: don't worry if smaller parts of the paper clip are visible between the levels of foliage, it will be cleaned up in the next step. I let dry a few hours.


Step Four:
The smoke markers at this step are going to be looking a little bare. Now we flush them out a bit. Using the same "foliage dipped in glue" from the previous step I started to fill in the gaps and shape the smoke plumes. Don't worry about impaling it onto the paper clip, just glue the new pieces directly to the previously attached clump foliage. I used all sizes of foliage at this step. I attached some of the smoke pillars to each other as well. I figured as the smoke was being released it would inter mingle. Let it dry again...

Step Five:
You might notice that there are some flimsy pieces of clump foliage. I added a bit of Weldbond directly to these pieces with an old brush to stiffen it up. Once again, let it dry.
Step Six:
The markers are starting to come together but they are not durable enough for game play. I thoroughly covered all the clump foliage in a mixture of Weldbond and water. Thin consistency but still solid white in colour. I let it to dry over night.


Step Seven:
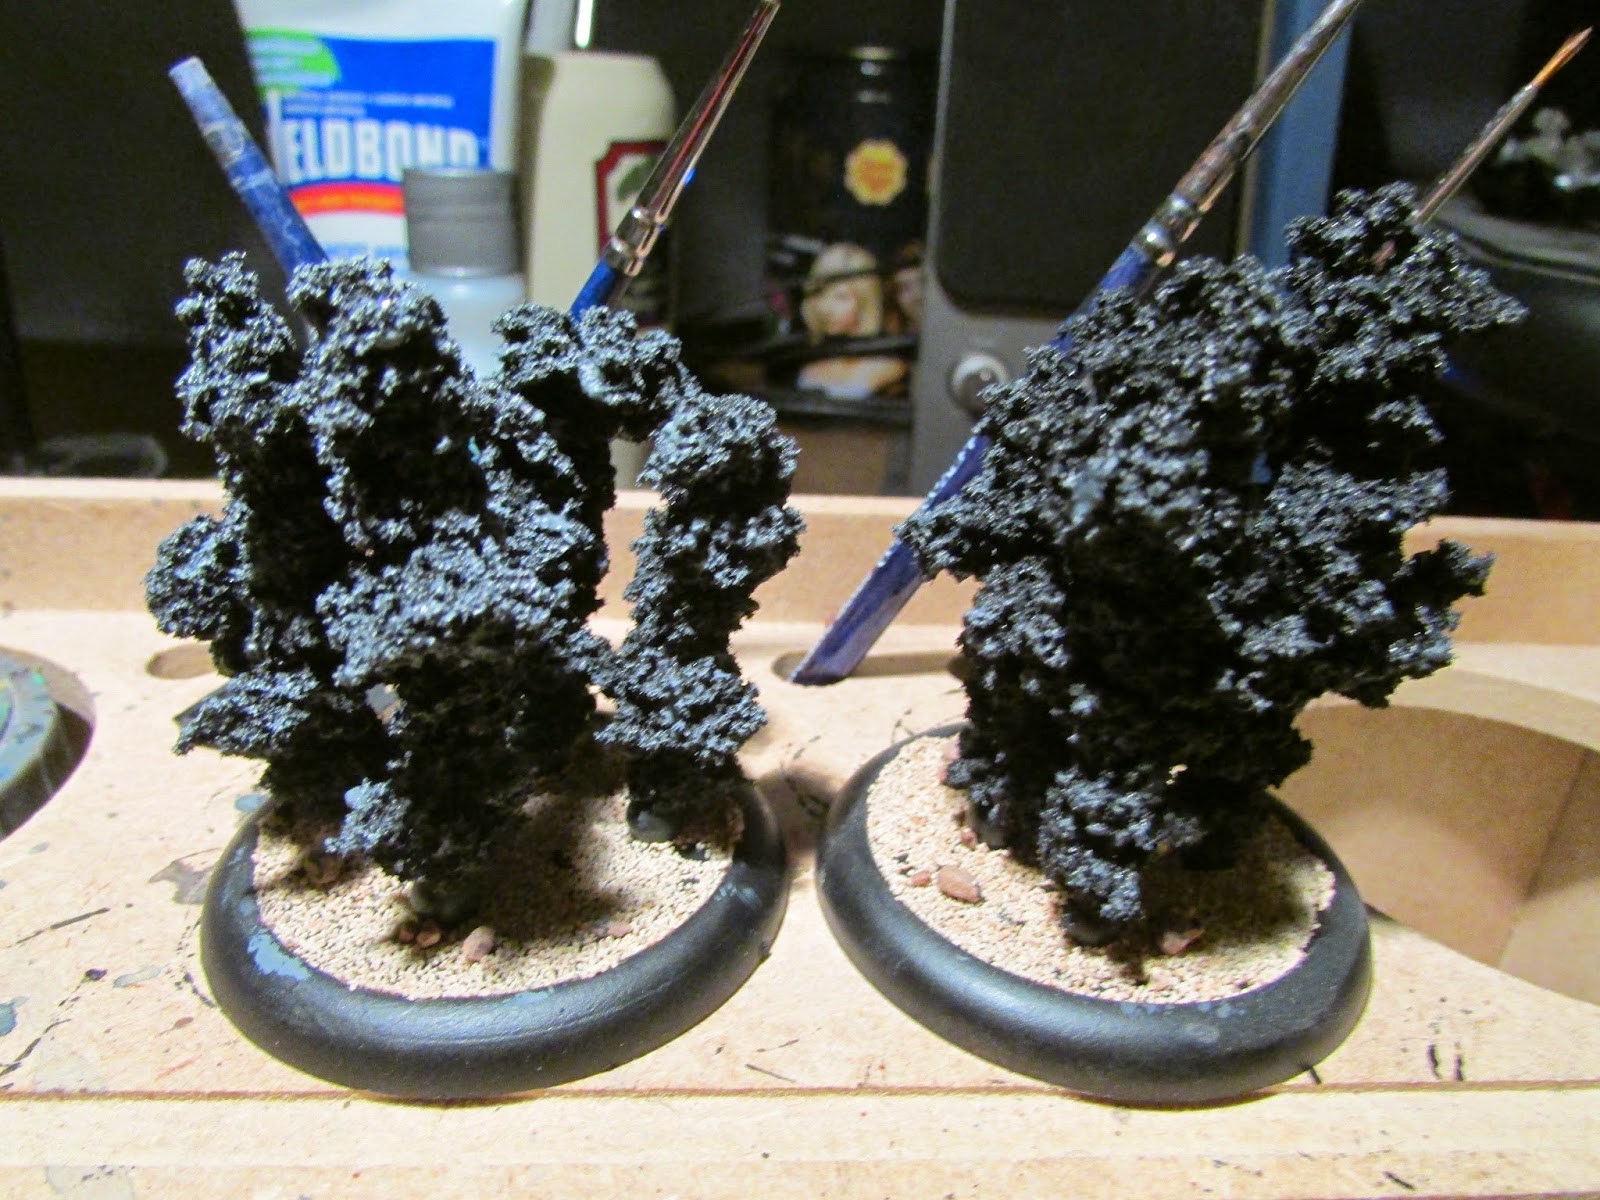
Get those markers ready to paint now. I primed mine in GW black primer (if you used dark coloured clump foliage it will make this step a lot easier).
 |
| After a quick spray |
Paint and base. I went with basic shades of grey for the pillars (keeping the inside and underneath parts of the smoke darker). The smoke bombs I just painted silver. I based it to match my Ten Thunders.

When I make these for my Flames of War tanks, I will switch the the base, bomb and paper clip, for a thin finishing nail (all my tank turrets are magnetic). I will post some pics when I get these done.
Hope this might help a few people add some smoke to their armies.
*Ninja vanish...
Kevin
No comments:
Post a Comment